3D Printing Badge
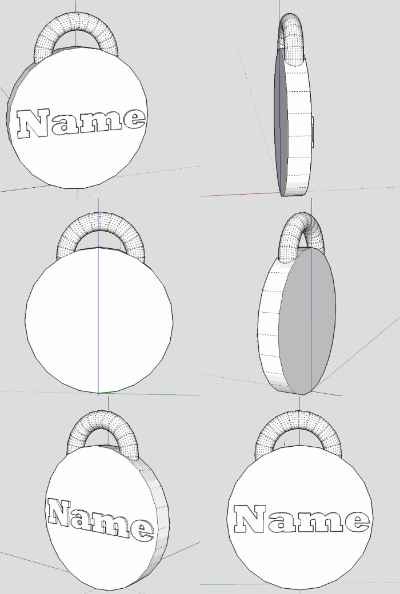
So you want to create some amazing things with the 3D printers? Excellent. To do so, you must demonstrate an understanding of the 3D printing process. This guide will walk you through the software you need to create and print a 3D model, as well as the process of using the printer itself. In the end, you'll have your very own badge that shows what you've learned!
Creating the Badge
I shamelessly stole this idea from OSU's Edmon Low Creative Studios. Click the .gifs on the right to view the steps.
|
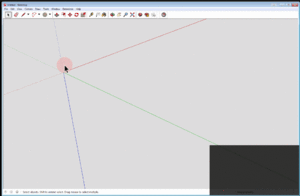
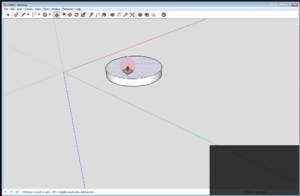
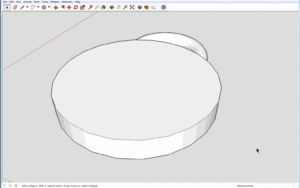
1. Open SketchUp 2. Create a circle with the circle tool 3. Choose the Push/Pull tool |
|
|
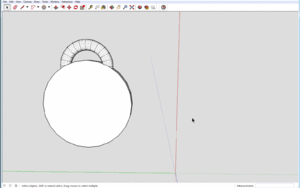
4. Create a second circle for the top loop away from the model (we'll move it into place soon) 5. Click the middle of the circle and press delete; you will be left with just the outline 6. Create one more circle perpendicular to the outline you made, and on the x or y axis (see video, muted). This will make a torus 7. Triple-click the torus (donut), right-click, then choose "Make Group." This will allow you to move the torus into the cylinder without them combining |
|
|
8. Align it with the cylinder as you'd like using the move tool 9. Once the torus is in place, right click it and choose "Explode." This will tell the program to combine it with the cylinder |
|
|
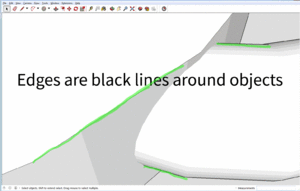
10. At the moment, there are no edges between the torus and the cylinder. This is a problem, because we need to delete any piece inside another piece, but if you try to delete without edge seams, it will leave holes. To create the edges, right-click the torus and choose "Intersect with Model" |
|
|
11. Right-click the face of the badge, then choose "Hide." This lets you dig in the inside without erasing the face 12. Click the part of the torus inside the cylinder and delete it. Delete the two circles on the inside wall, as well 13. Go to "View" in the menu, and select "Hidden Materials" 14. Right-click the grid that appears where the face was, and choose "Unhide," then go to "View" and uncheck "Hidden Materials" |
|
|
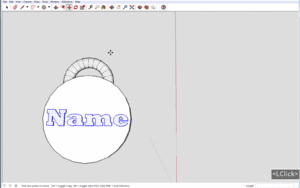
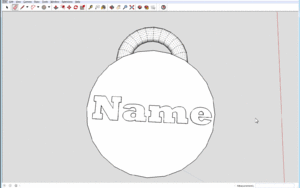
15. Click the "Tools" menu up top, then choose the "3D Text" tool, write your name, and style as you'd like. Choose a font where the letters do not touch, or divide your name where they do 16. Make it as large as will fit on the cylinder, and set it on top 17. Right-click the text and choose "Explode." Again, this will merge it with the materials it is touching |
|
|
18. Orbit to the backside of your badge (use the scrolly wheel as a button and move the mouse) 19. Hide the backside as you did the front 20. Erase the backside of each letter. We are doing all this erasing to give the printer one single shell to print; imagine a very strangely-shaped balloon 21. Go to "View" in the menu, and select "Hidden Materials" 22. Right-click the grid that appears where the backside was, and choose "Unhide," then go to "View" and uncheck "Hidden Materials" 23. Admire your work |
|
|
24. Run Solid Inspector² 25. Go to the "File" menu, then "Export STL" |
| 3D Print Training Series | |
|---|---|
| Previously: Installing SketchUp and extensions | Next up: Slicing 3D Print Files |
